Before we create a new React app, install or update the latest release of Node.js for your platform. You can download from https://nodejs.org/en/download/current/. For development, it is recommended to use the latest version. After installation verify that Node.js and npm are installed correctly by using the following commands.
node -v
npm -v
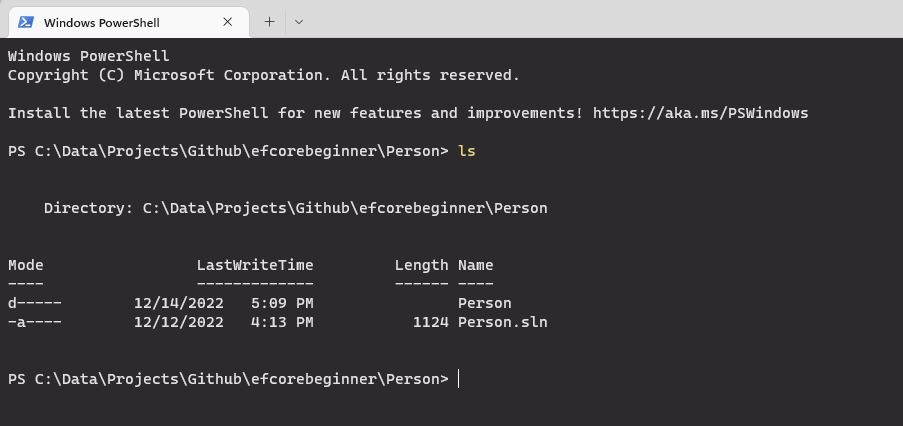
Open terminal and change the directory where the Person.sln file exists. Person.sln is the Visual Studio solution file. You will see Person folder there, which contains Person project that created in Person Web API tutorial series. The ls command should show the following output.

We will create the new React app here. We will later deploy it to live website using Docker. We will create docker compose files to deploy both the API and React app, so if you want to deploy apps to your own website, keep the folder structure same.
Create a new react app by following the simple command from https://create-react-app.dev/. By default React use JavaScript. We have used –template typescript to add support for the TypeScript language. TypeScript has added advantages of strong typing, which avoids type mistakes during compile time.
npx create-react-app react-client --template typescript
This command will create a new React app in react-client folder. It will take some time, depending on your internet connection speed.
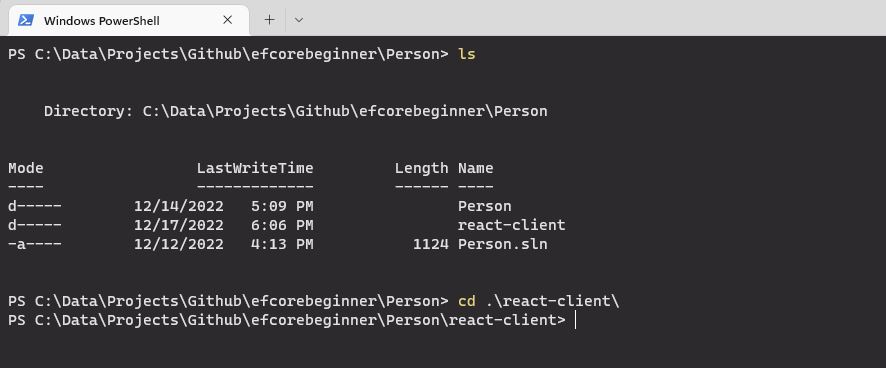
After the react app create command finishes, verify it by running it by npm start command. Change to the react-app directory if not already done.
ls
cd react-app
npm start

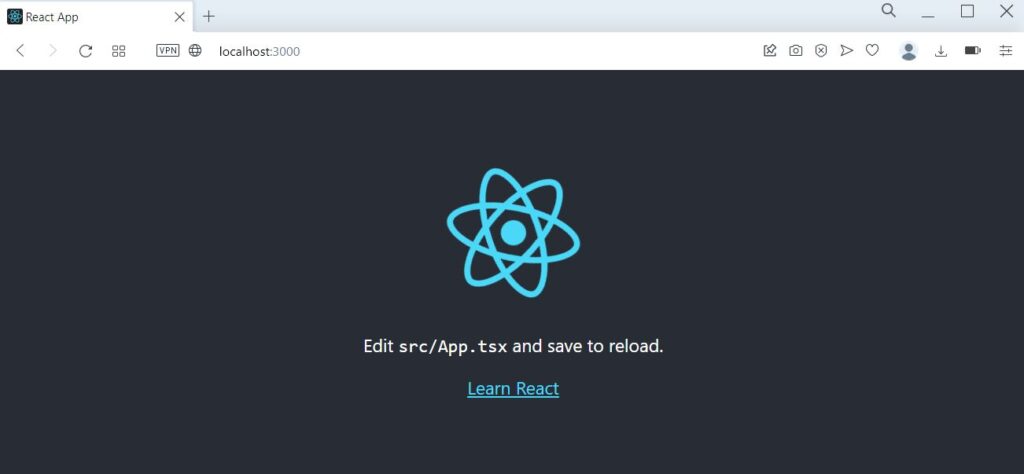
npm start will start the app and open the url http://localhost:3000 in the default browser. The default app will look like below.

Install npm packages in the default React app
React is a very basic library for creating frontend applications. We need to install 3rd party libraries for other basic features like Forms, UI, http client etc.
First install or update the latest version of Visual Studio Code. Open the react-app folder in Visual Studio Code. Open package.json file. The dependencies section lists all the libraries which are used in the React app.
Run the following commands to install the libraries in the React app. Press Ctrl + C to stop the React app, if it is already running.
npm i @chakra-ui/react @emotion/react@^11 @emotion/styled@^11 framer-motion@^6 @chakra-ui/icons
npm i axios
npm i chakra-react-select
npm i dateformat @types/dateformat react-number-format
npm i formik yup yup-password
npm i react-dropzone
npm i react-icons
npm i react-router-dom
We will not go into the details of these packages now, but will cover in detail when we use them.
Delete unwanted files from React app
Open the folder react-client in Visual Studio Code. Delete the following files from the src folder.
- App.css
- Index.css
- logo.svg
- App.test.tsx
index.tsx Initialize React
Open index.tsx. This is the first file that is loaded by the React app. index.tsx loads the main app, menu, layout etc. The root.render method loads the .
index.tsx – initializes the React related stuff App.tsx – We will use it to initialize our own app like routes and layout In index.tsx, import the ColorModeScript from ChakraUI. Then use it in root.render. Below is the complete code of index.tsx.
import React from 'react';
import ReactDOM from 'react-dom/client';
import App from './App';
import reportWebVitals from './reportWebVitals';
import { ColorModeScript } from "@chakra-ui/react"

const root = ReactDOM.createRoot(
  document.getElementById('root') as HTMLElement
);
root.render(
  <React.StrictMode>
    <ColorModeScript />
    <App />
  </React.StrictMode>
);

// If you want to start measuring performance in your app, pass a function
// to log results (for example: reportWebVitals(console.log))
// or send to an analytics endpoint. Learn more: https://bit.ly/CRA-vitals
reportWebVitals();
App.tsx – Initialize our App
Open App.tsx. It uses two import statements to load logo.svg and App.css. Remove both lines, as we will not use the default logo and css.
The App function returns a Div with default header and Learn React link. Delete the whole Div tag.
Instead of the default Div, we will use BrowserRouter, to setup the routes/urls for our app. For now, we will just add a Route to the default / route, which will be our homepage. Update your App.tsx file as below.
import { BrowserRouter, Routes } from "react-router-dom";

function App() {
  return (
    <BrowserRouter>
      <Routes></Routes>
    </BrowserRouter>
  );
}

export default App;
For now, when we run the app, it will display an empty page. Run your app with the following command.
npm start
The app should run without any error and just display empty page.

In the next tutorial, we will add layout in our app and define header, footer and top navigation menu.